Short Guide for New Stick Users
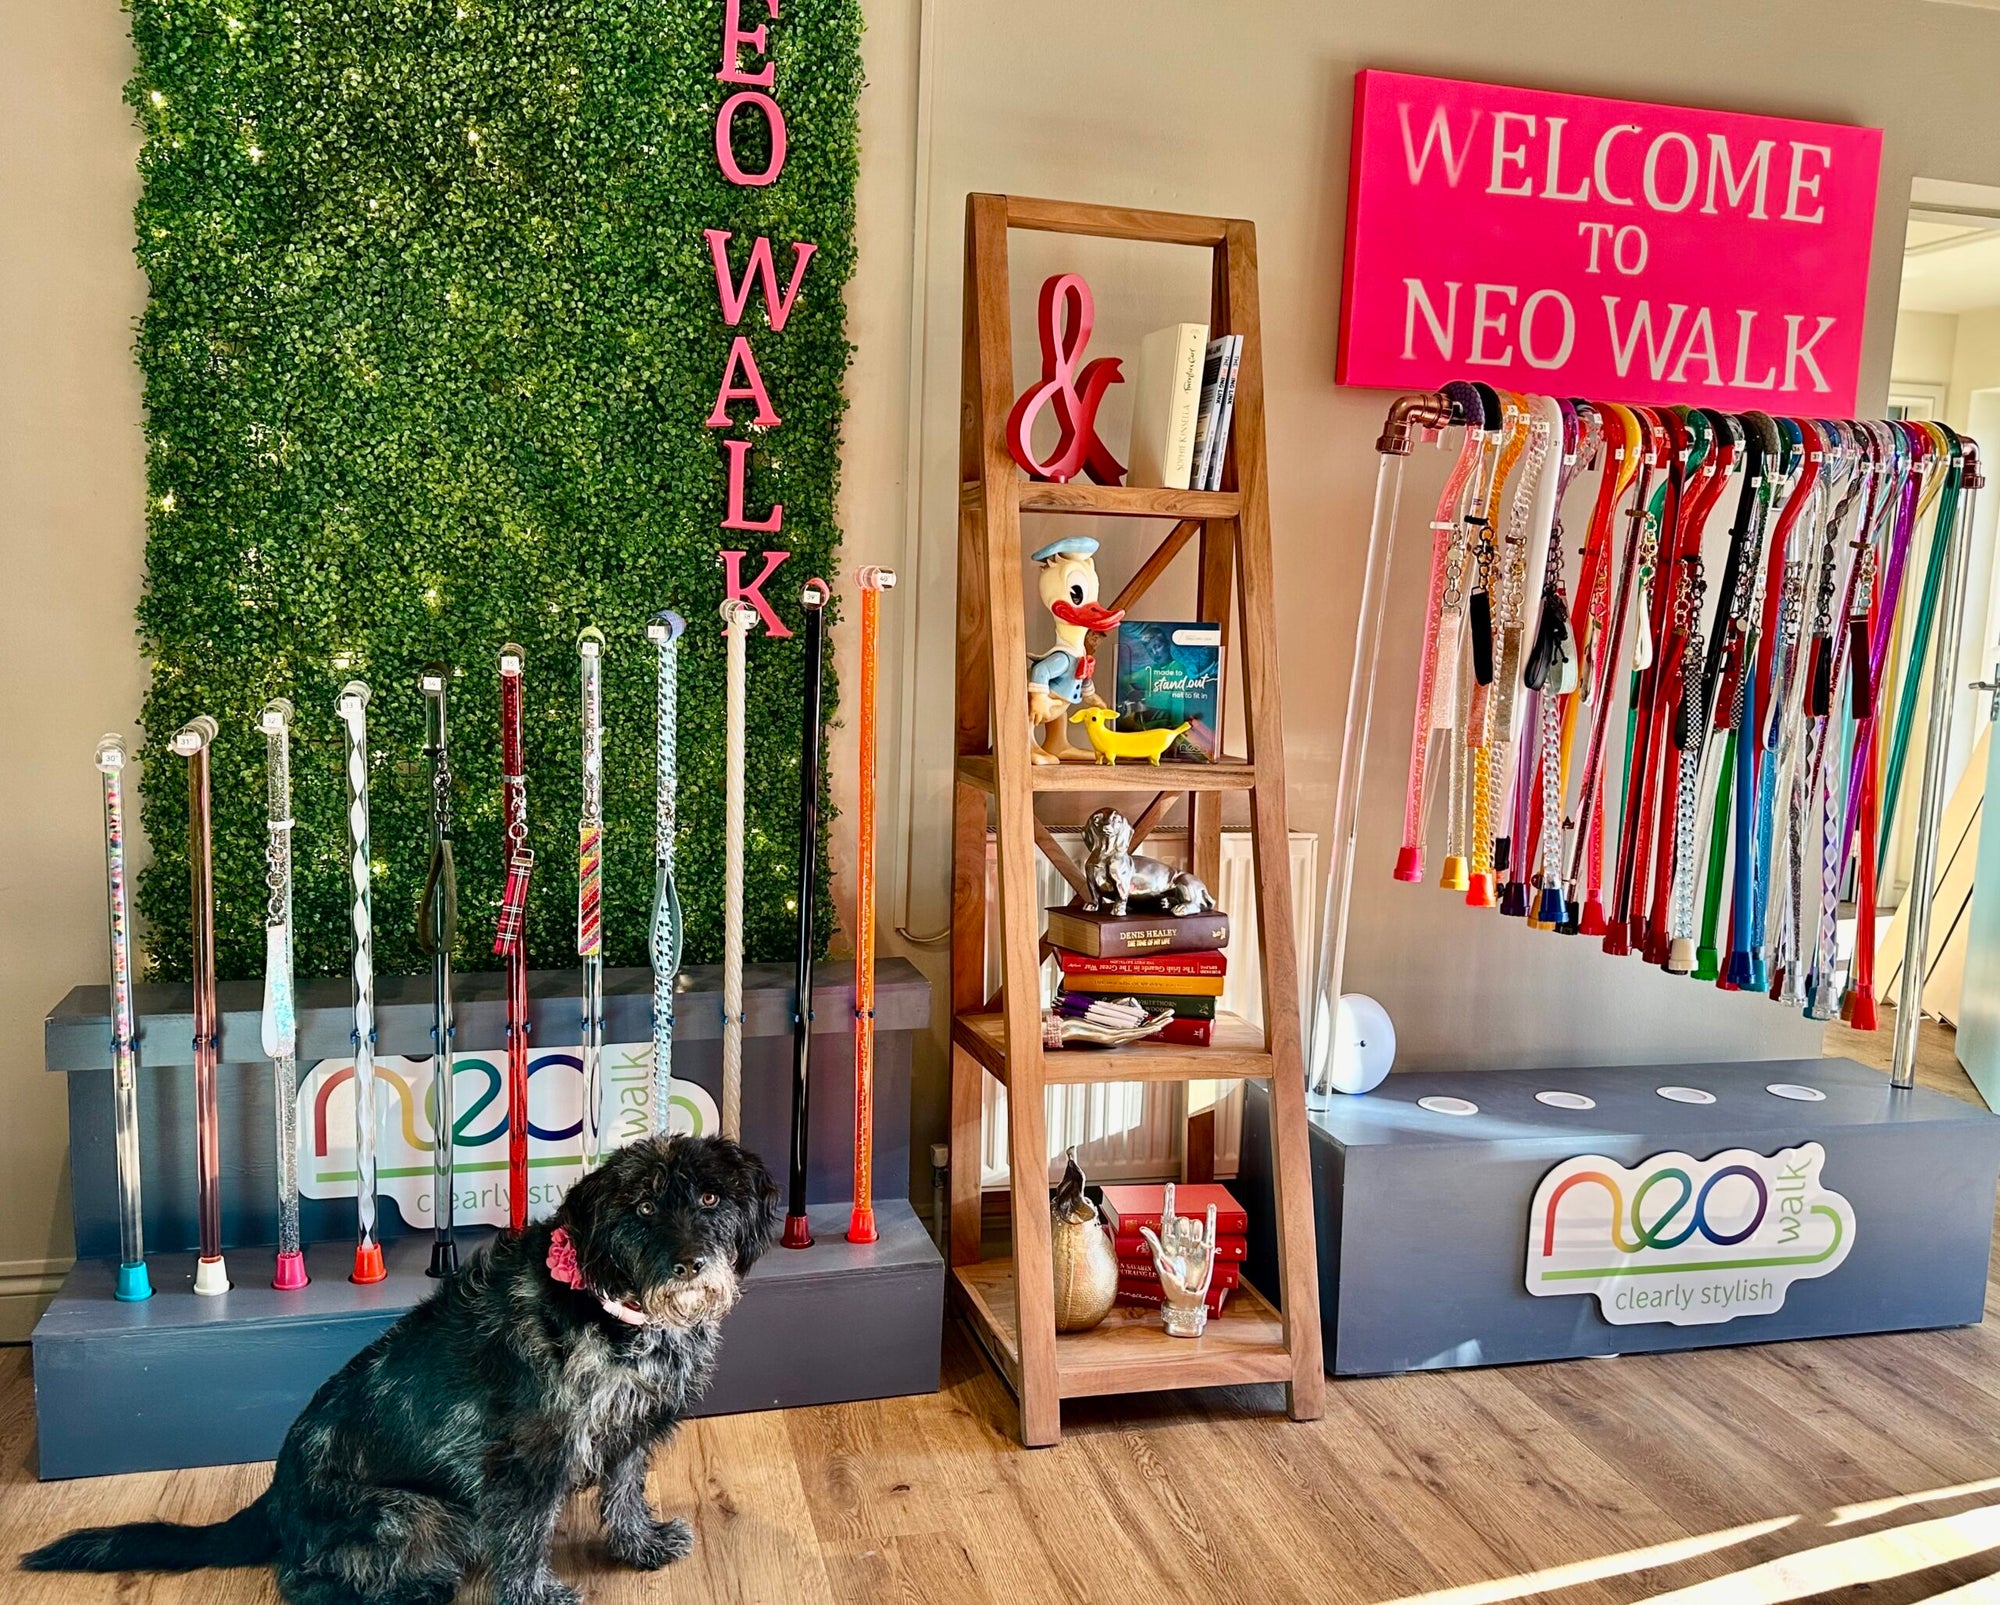
Have you heard about the Hub at Neo Walk?
We have created a warm and welcoming place for you to come and see all our walking sticks in private, and be measured for length by an experienced team member. We have had so many visitors who all enjoyed a browse, a try and a cup of tea. To book your appointment e mail us on info@neo-walk.com
Sometimes it is for a first walking stick, and this can be a very emotional hurdle to navigate. We try to help and offer advice so you get what you want and get it right. Sometimes customers have no knowledge of walking sticks at all, so we start from scratch.
If you think that might be you, and you want a walking stick but don’t know the first thing about them, here’s a guide for you. Remember there is no such thing as a silly question, and we are always here to help.
Do I need a walking stick?
That is a question between you and your body. Always listen to what your body is telling you. If you experience fatigue, pain during or after walking, stumbling and tripping, then yes a walking stick could well help you. You may not want to approach a medical professional in case you are shot down or you may not have anyone to ask. Some people experience a lack of support from family members, saying you’re giving in and it’s a downhill slope from here. Please believe that is not the case. You’re more likely to injure yourself not using one precisely because you do need one.
In other words it is your decision, but listen to your body. Fatigue, pain and injury can be avoided by using a walking stick. But why not try one and see how it feels? You may wish you’d started using one a long time ago.
What is a walking stick for?
It’s important to remember that a walking stick is designed and made just as a balancing aid. It is not a weight bearing aid. If you find you need more support you might need a crutch, or two. Even if it is just on your really bad days.
If you put a lot of weight on any walking stick you risk breaking it and hurting yourself. For example if you use it to put your weight through getting out of a chair, there is a risk a stick would break.
Please remember it is a balancing aid only.
What’s the right length for me?
Getting the right length is important. The wrong length can cause more harm than good. All you need is a tape measure and a friend. It’s easier than trying to do it alone.
Wear your regular shoes, or if the stick is specially for an occasion, wear those shoes.
Stand relaxed arms by your side.
Measure from your wrist bone to the floor, on the side you will use your stick.
This is the length of walking stick you need.
This measuring method does not work for everyone. If you are more comfortable with a shorter or longer stick then that is the length for you.
IF YOUR SHOULDER GOES UP WHEN YOU WALK WITH YOUR STICK, IT IS TOO LONG FOR YOU.
IF YOUR SHOULDER DROPS WHEN YOU WALK, IT IS NOT LONG ENOUGH FOR YOU.
Which side do I use a walking stick on?
Hold the walking stick on the opposite to your weak side.
If you have dynamic symptoms you may find you need to swap sides sometimes.
Put the walking stick forward with your weak leg. It will support you while your weight is on it.
Then swing through your stronger side leg.
It may take a bit of practice but you will get there.
I hope this short beginners guide helps. Sometimes it’s hard to ask questions. We are here for anything you want to know. From our experience and our customer’s experiences, we can tackle most things.
If you would like to visit the Hub and have a private appointment with an experienced team member, please e mail us info@neo-walk.com
We look forward to giving you a warm Yorkshire welcome.
Featured Articles

Short Guide for New Stick Users
Have you heard about the Hub at Neo Walk? We have created a warm and welcoming place for you to ...
How to Make Good Friends Great Friends!
I’ve been listening to a lot of podcasts lately, about relationships and how we succeed and fail ...